Home / Articles / Tagged: healthy lifestyle

Pool Noodle Hockey for Kids

During the Summer Olympics there are mens and womens field hockey teams. They play with a stick that has a shepherd's crook on it and hit a small ball.  

For our pool noodle hockey game I created goals and sticks using pool noodles. Scroll down for more details.

MATERIALS NEEDED FOR POOL NOODLE HOCKEY:

  • fat pool noodle
  • knife
  • two thin long pool noodles
  • large ball
  • 4 lawn stakes

HOW TO SET UP FOR POOL NOODLE HOCKEY:

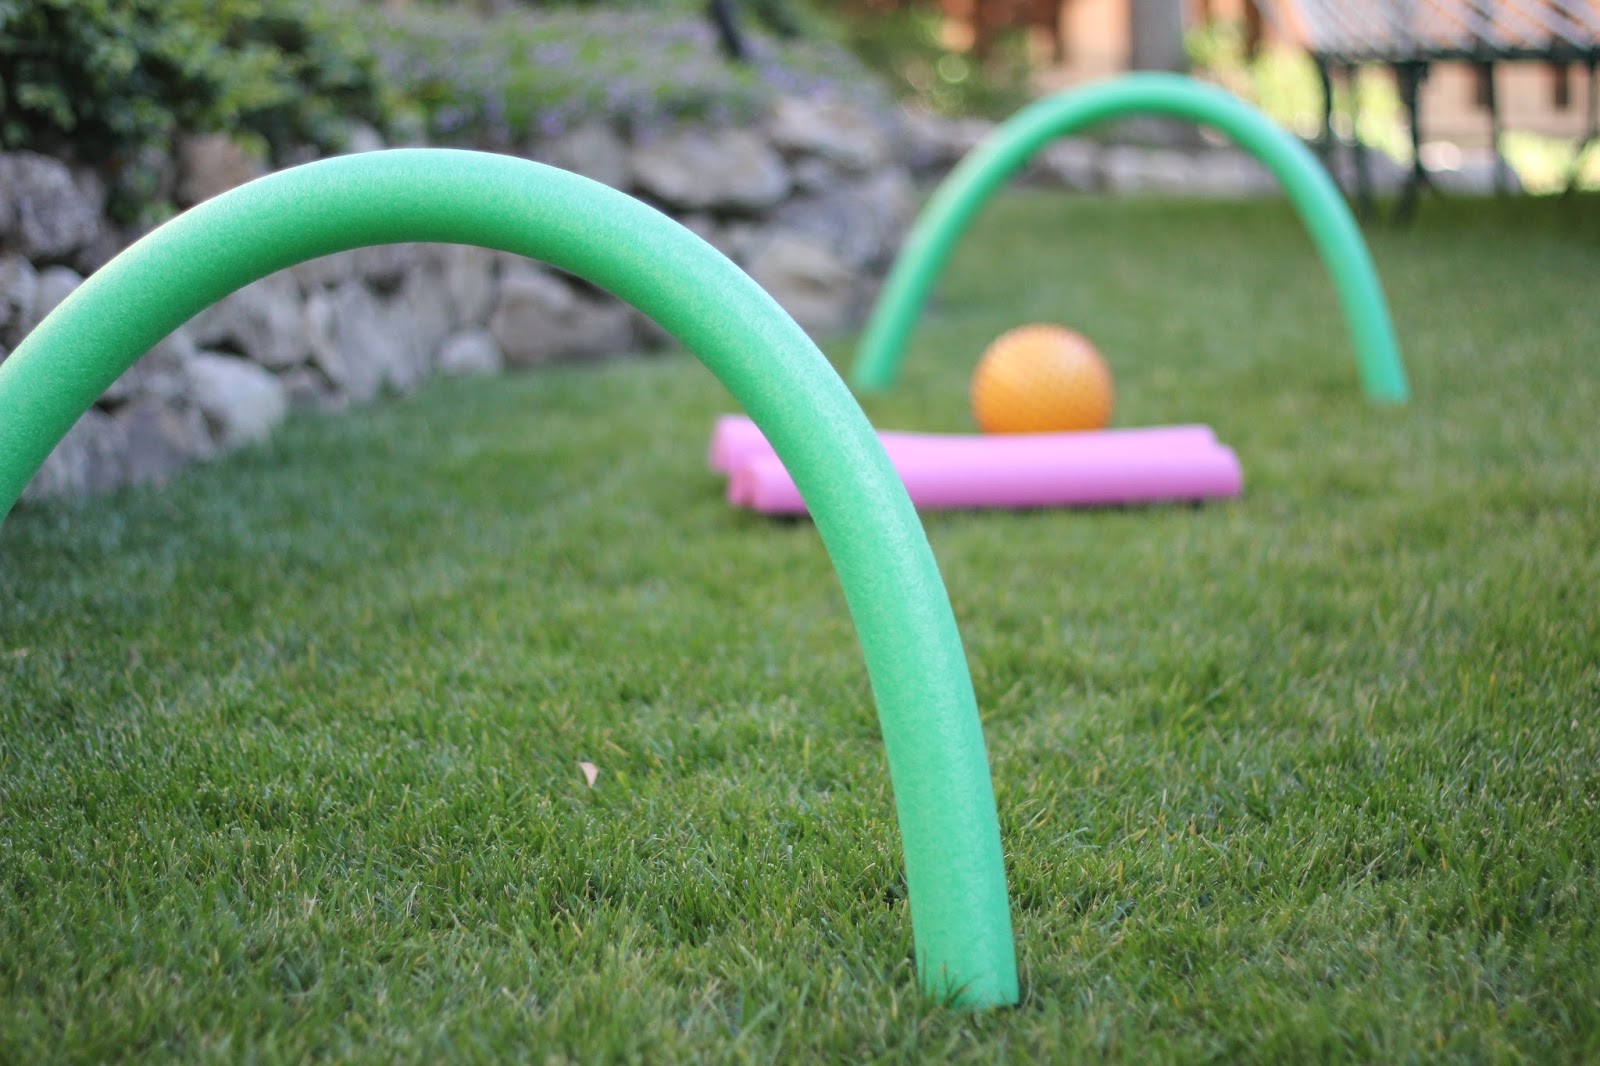
Set up is super easy! Start by putting two yard stakes in the ground about 2ft away from one another. Put them in the ground deep enough to stay but leave them high enough out of the ground that several inches are visible.
Arch one pool noodle from one yard stake to the other and slip the yard stakes into the centers of the pool noodle ends. The pool noodle should make an arch and stay pretty secure, unless it is super windy. Repeat with another pool noodle maybe 10-15 ft away (depending on how large of a field you want).
Next, cut the fat pool noodle in half lengthwise. The cut side of the pool noodle is a bit easier to hold on to and it is easier to hit balls with the fat pool noodle pieces. 
Now you are ready to play!

HOW TO PLAY POOL NOODLE HOCKEY:

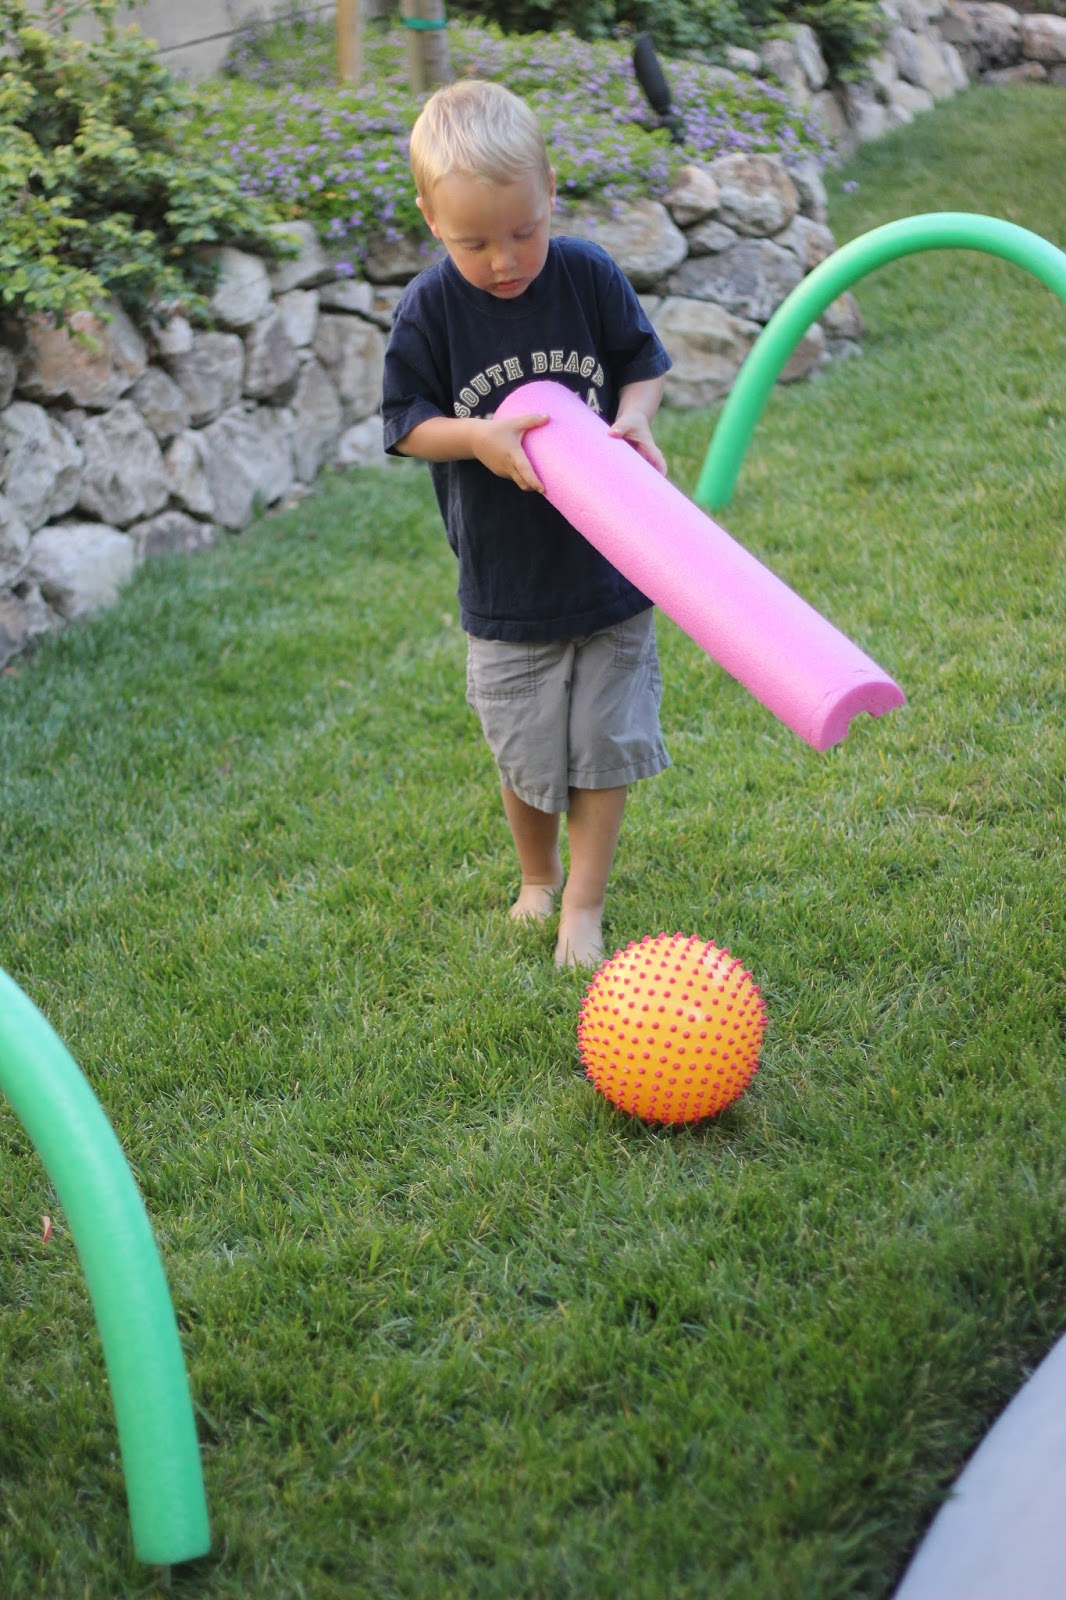
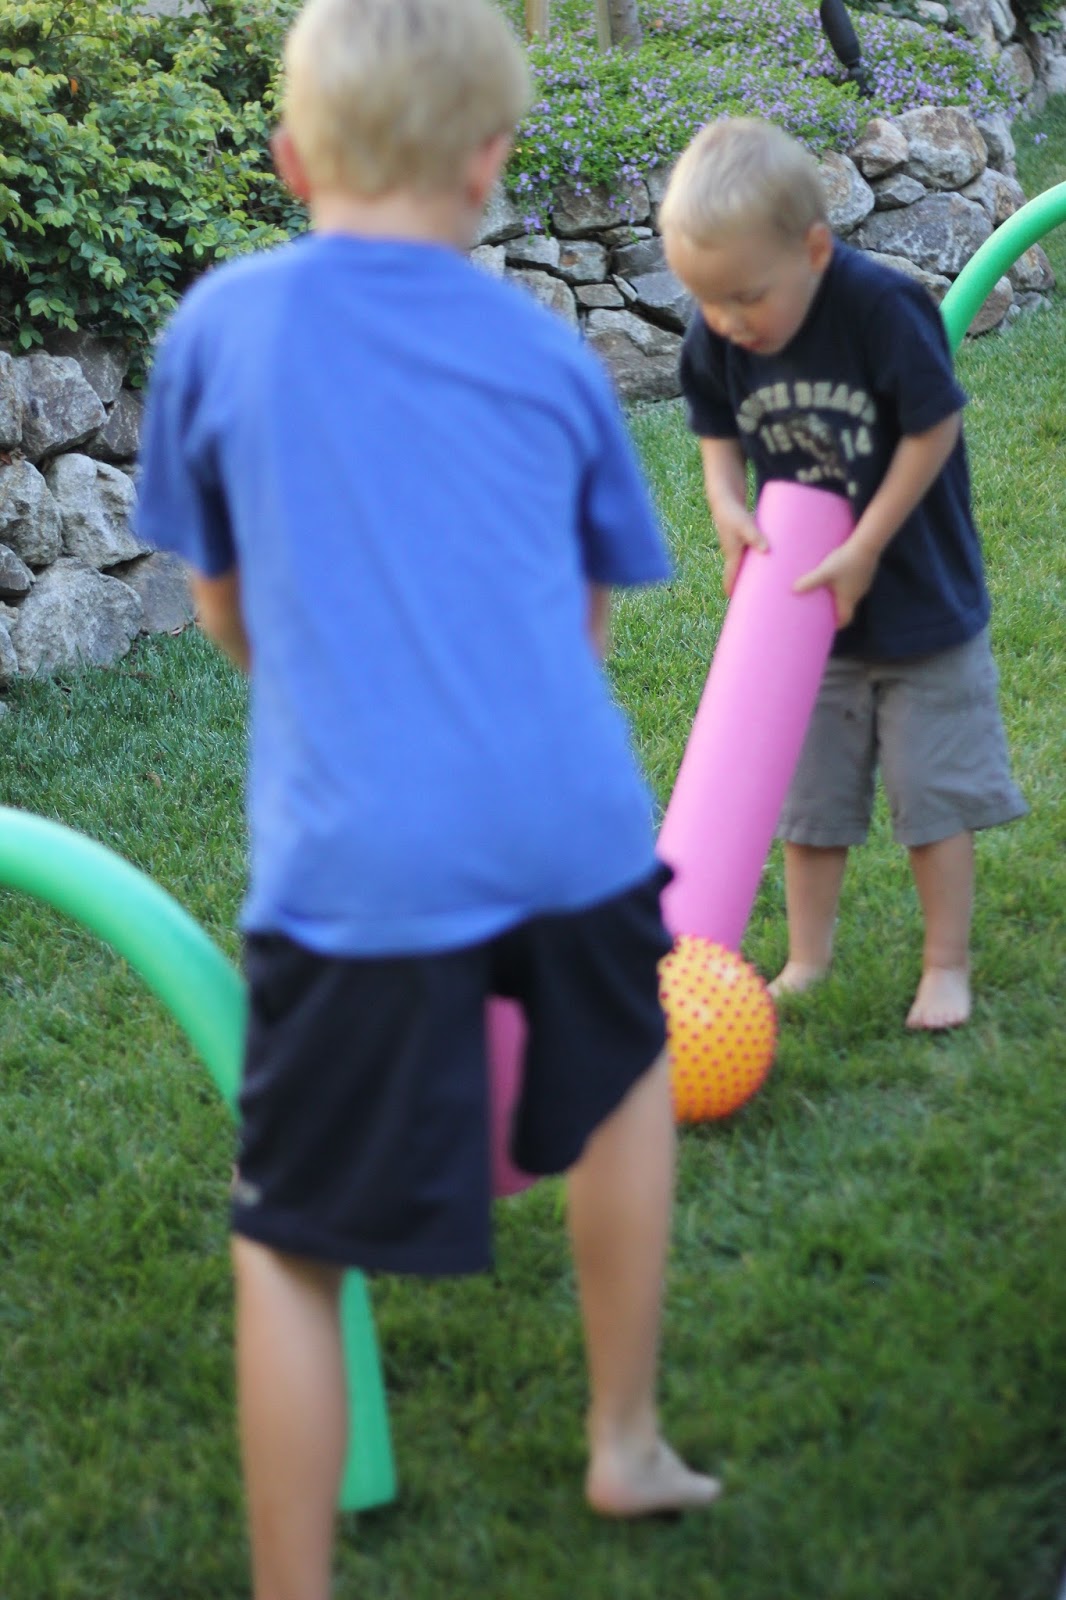
We made small teams of one and worked hard to get the ball in the other goal before it was stolen! Using the pool noodle half we hit the large ball again and again. My son was so proud of himself once he figured out how to "dribble" the ball up the field using his pool noodle. 

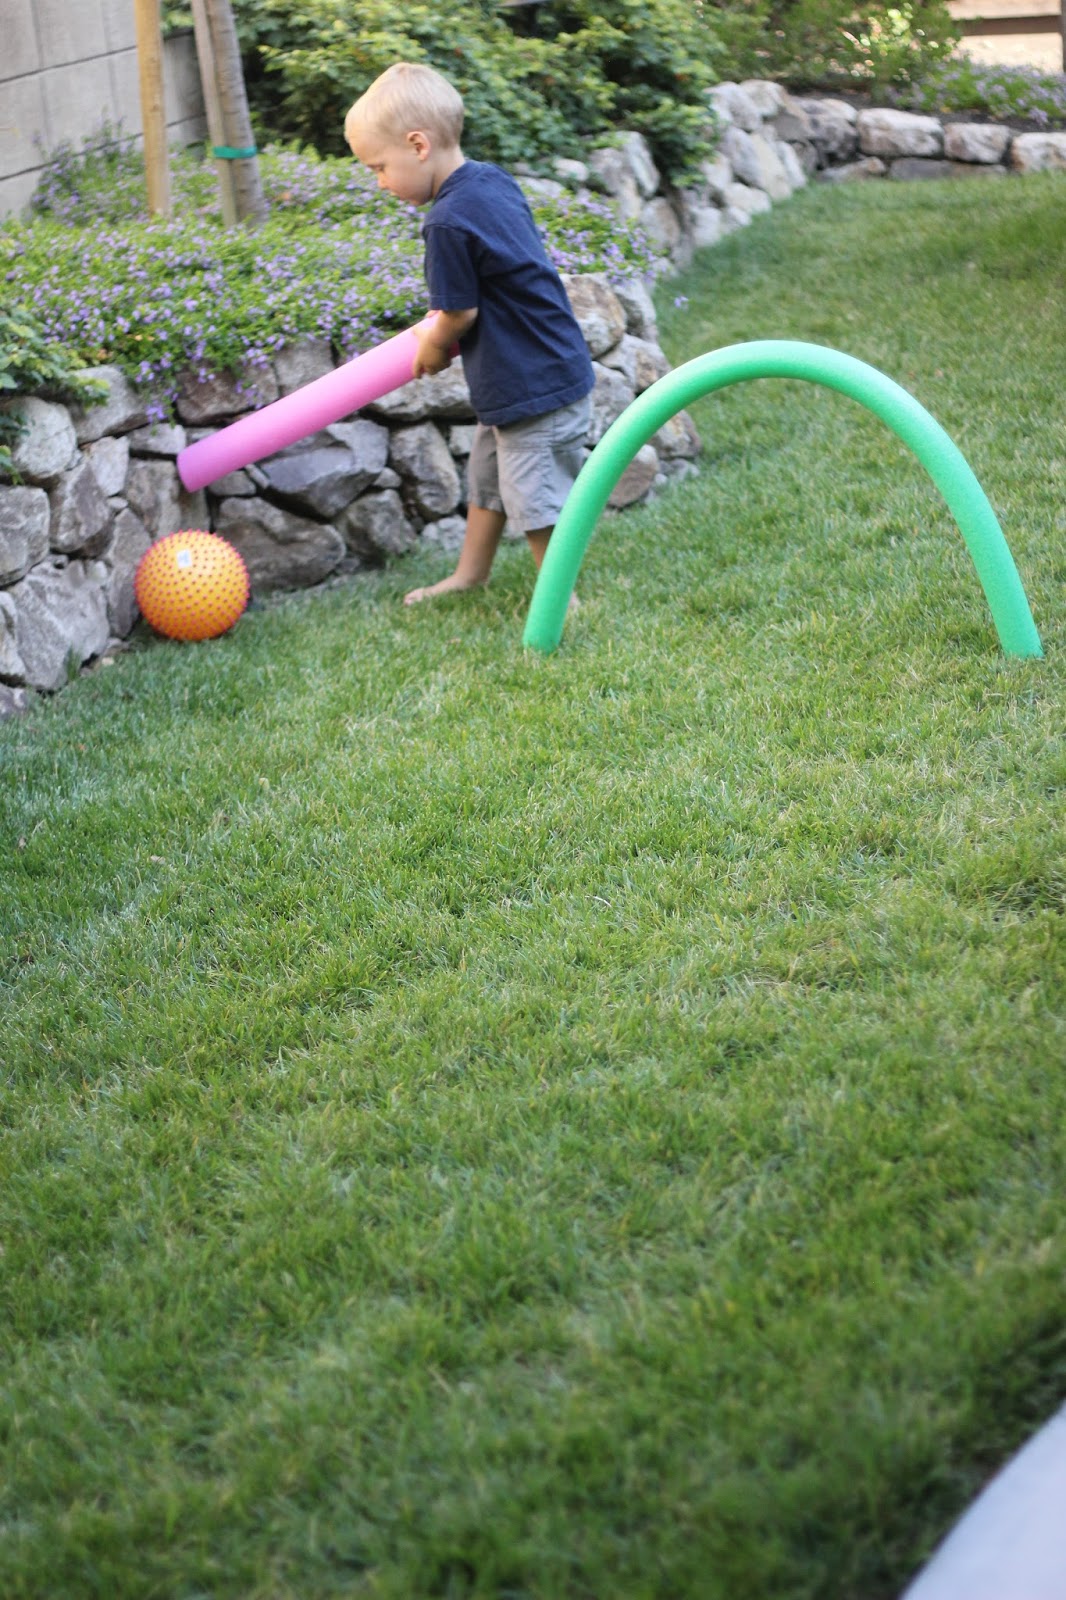
It is fun to get the entire body into pool noodle hockey, which was why we set some ground rules to begin with. We encouraged kids to keep their sticks on the ground or close to it when they were hitting the ball (no high sticking) and to keep their bodies to themselves (no fouls)!

This activity is great for working on hand-eye coordination, aiming, swinging, and working together.

source: toddlerapproved

Sensory Play Bubble Wrap

Need a quick and fun activity to do with your toddler? This sensory play bubble wrap activity is full of fun and super simple, too!

Bubble wrap is so much fun and there are so many things you can do with it!

Sensory play is also so good for young children. This is a quick and cheap sensory activity! It’s also COMPLETELY EDIBLE (well, the yogurt paint is), so it’s safe for babies and toddlers who put EVERYTHING in their mouths (like mine do).

Your baby could do this activity on their tummy. Most babies can start eating yogurt around 7-8 months. This would be a great activity even if they are on their tummy. Just watch them closely with the bubble wrap and tape to make sure none of those go in their mouth.

So if you have a bunch of bubble wrap from a recent package, then you should try this super fun activity! I’m sure your toddler will have a blast – at least mine did! They love messy stuff.

What you will need for the Sensory Play Bubble Wrap:

  • Cookie Sheet (or you could tape it to a table)
  • Painter’s Tape (for taping down the bubble wrap so it doesn’t move)
  • Yogurt (any will do but I like plain so I can easily add food coloring to it)
  • Food Coloring (optional but my twins like all the different colors. Plain yogurt works just fine and might be good if your child eats a lot of it)
  • Muffin pan (for the yogurt paint)
  • Paint brushes or other items to paint with

Setting up this Activity:

  • Put a scoop or two of plain or vanilla yogurt into the muffin pan. I just did 5 spots in the muffin pan because we did 5 colors.
  • Add in a drop or two of food coloring.
  • Stir up well (your toddler could help you)
  • Tape bubble wrap to a cookie sheet using Painter’s Tape
  • Give them paint brushes or other utensils to use (or just their hands work great)

They really did keep the yogurt on the cookie sheet because they were so fascinated with the bubble wrap. So there wasn’t too much clean up!


BLUEBERRY MUFFINS RECIPE FROM THE MUFFIN MAN!

BLUEBERRY MUFFINS RECIPE FROM THE MUFFIN MAN!

Try making these simple and delicious blueberry muffins, and then eat them while watching me on The Muffin Man episode of Sing Along With Tobee. I can’t think of anything better…. Yum!

Ingredients

  • 2 cups flour
  • 2 tsp baking powder
  • ¼ tsp baking soda
  • ½ tsp salt
  • 6 tbsp butter, melted
  • ¾ cup sugar
  • 1 cup sour cream
  • ¾ tsp lemon zest
  • 1 large egg
  • 1 ½ cup blueberries (If frozen, do not thaw before using)

Directions

  • Prepare a 12-cup muffin tin with 12 paper liners or non-stick spray.
  • Combine flour, baking powder, baking soda and salt in a bowl. Stir well with a whisk.
  • In a larger bowl, whisk together butter, sugar, sour cream, lemon zest and egg until smooth.
  • Add flour mixture and stir just until combined. Fold in blueberries. Divide batter evenly among prepared muffin cups.
  • Bake at 375◦ for 25-30 minutes until tops are golden and toothpick inserted into centre of muffins comes out clean. Cool in pans for 5-10 minutes. Finish cooling on rack.

I hope you enjoy these yummy blueberry muffins!


source: supersimple